Making my own fridge gasket:

BEFORE:
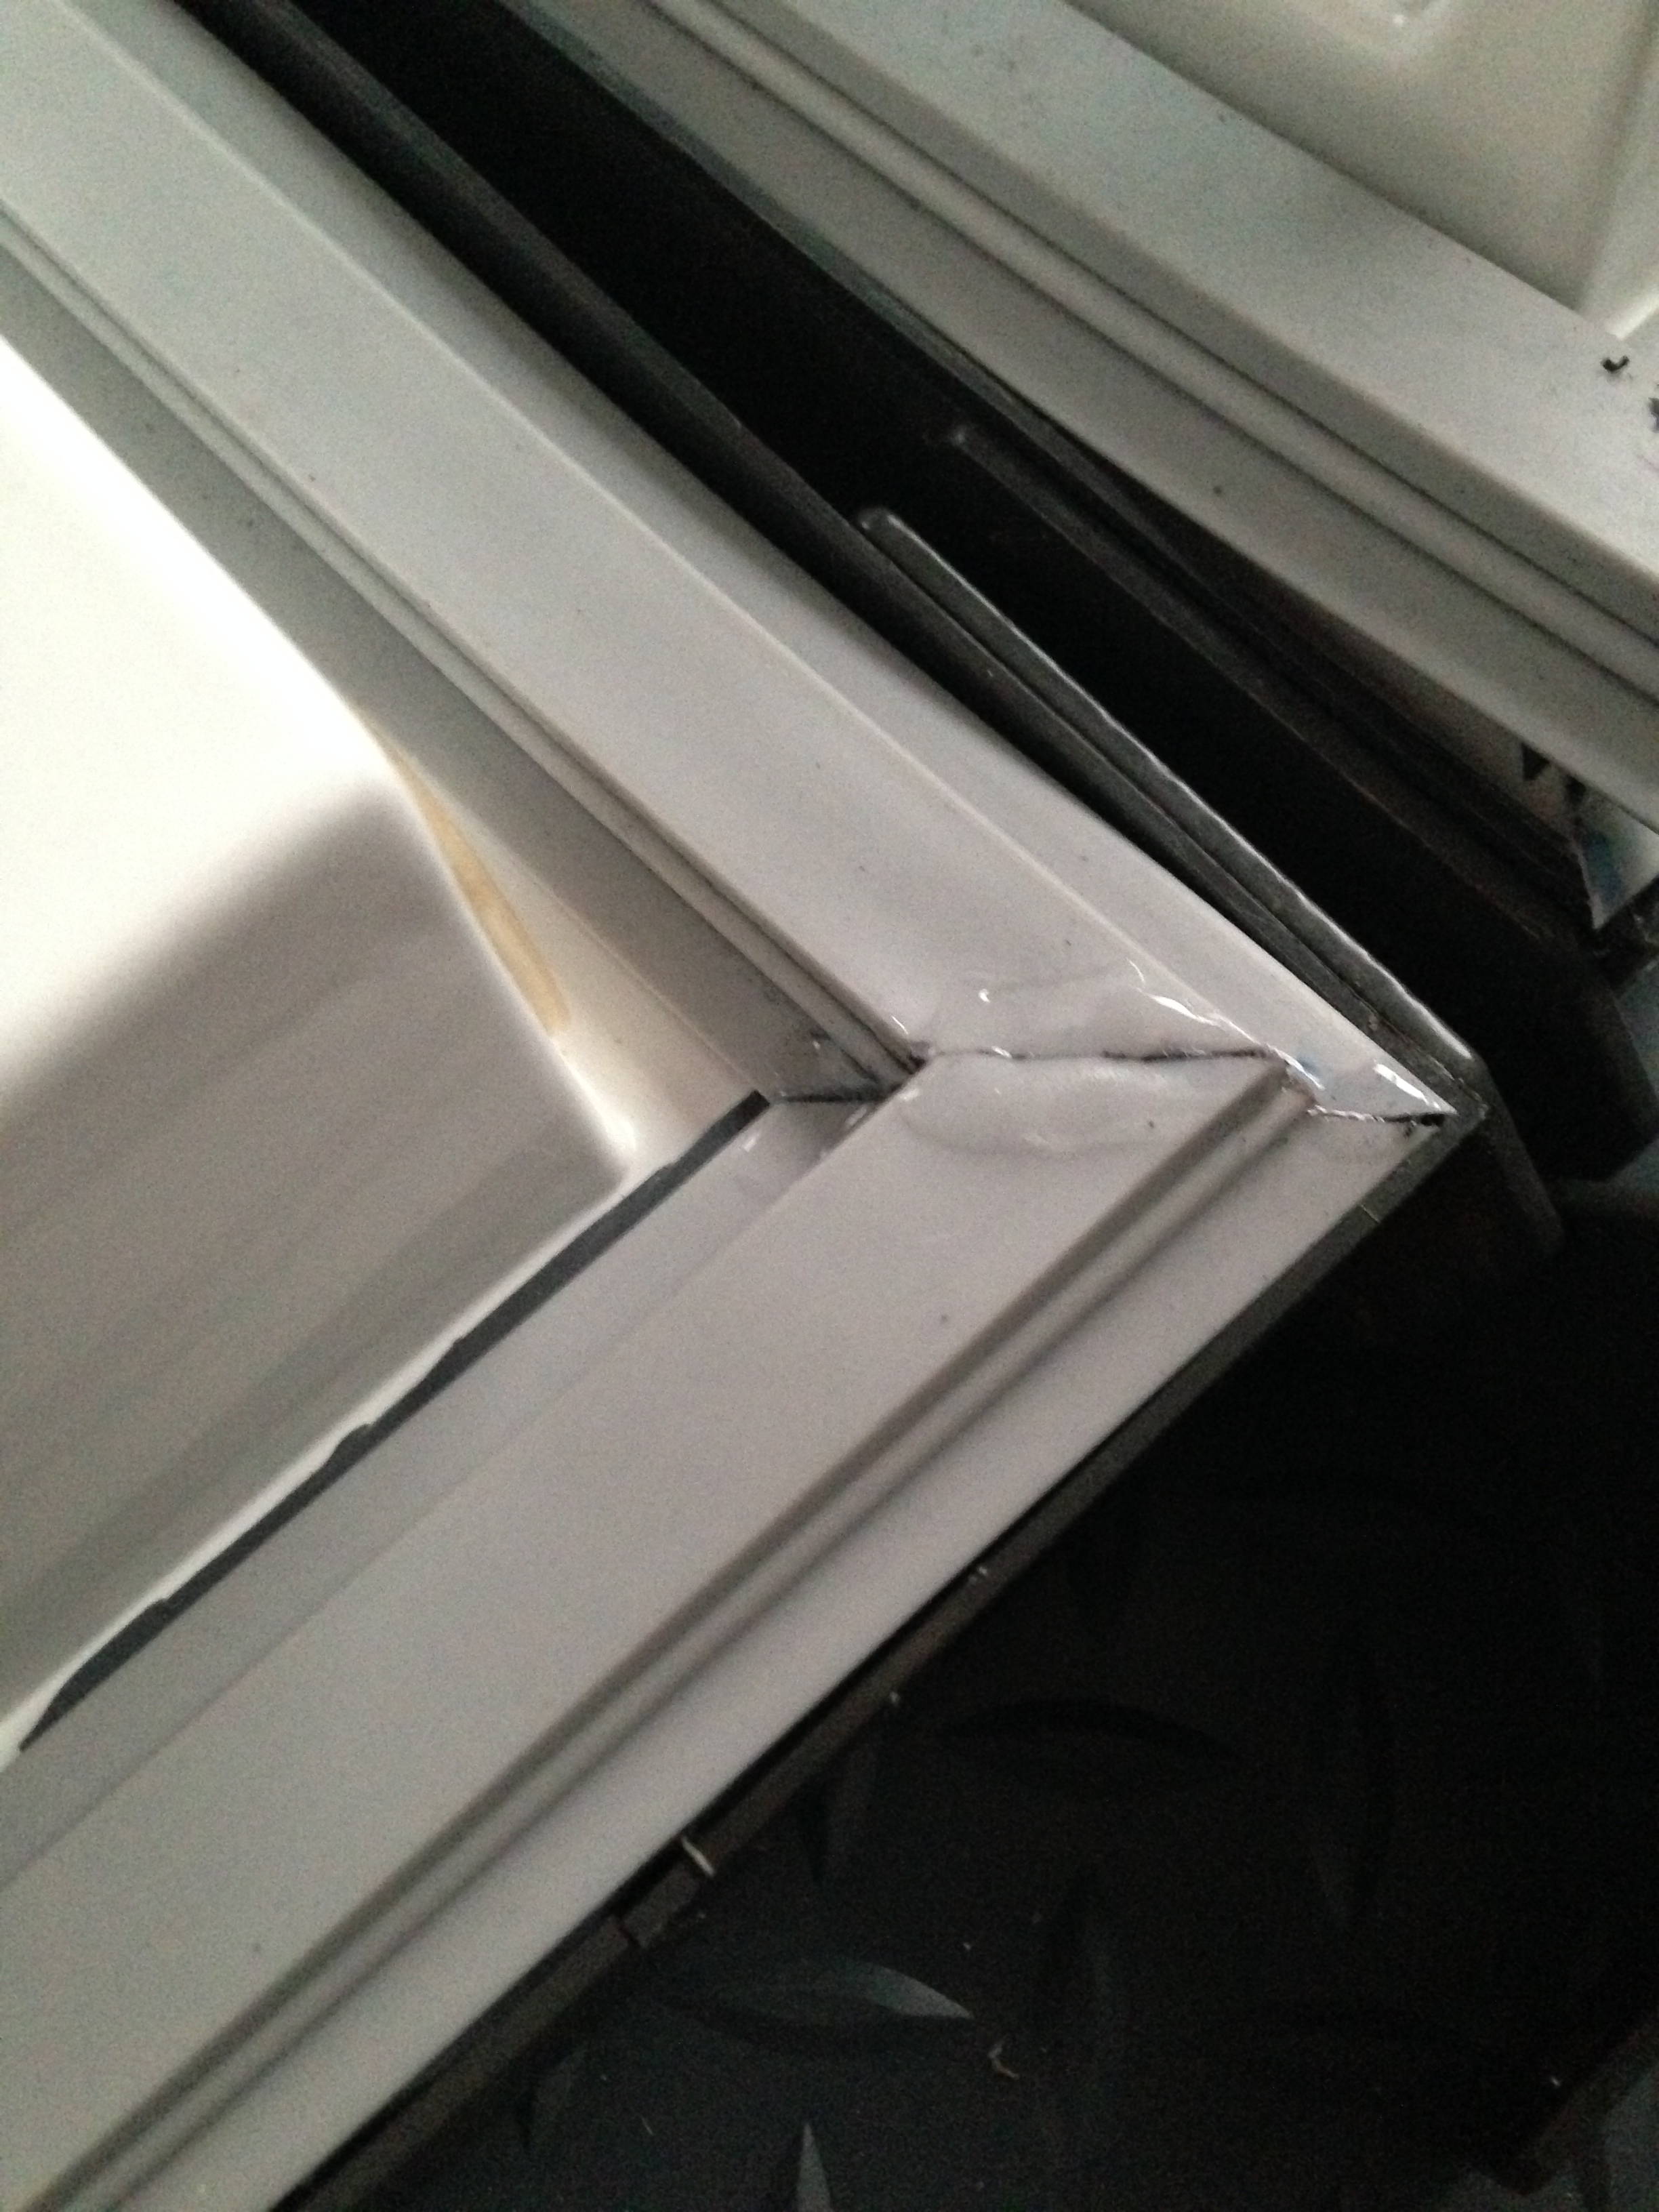
Before/After Cleaning: Top of fridge door on top (before); freezer door edge on bottom (after)


My fridge gasket was moldy, bloated and needed to be replaced. I removed the old gasket with a straight edge and cleaned, bleached and steamed the door. When I was looking into new gasket replacements they were around $250 and up. Obviously, I wanted to find a cheaper alternative. After research and phone calls I found a place that would sell me more than enough replacement magnetic gasket for more than half of the price above. They wanted an additional $50 to cut/size the gasket…at the time I was still early in this renovation and I decided I would take this on myself instead. Months later I would wish I had just paid the $50, but it all worked out in the end. =)
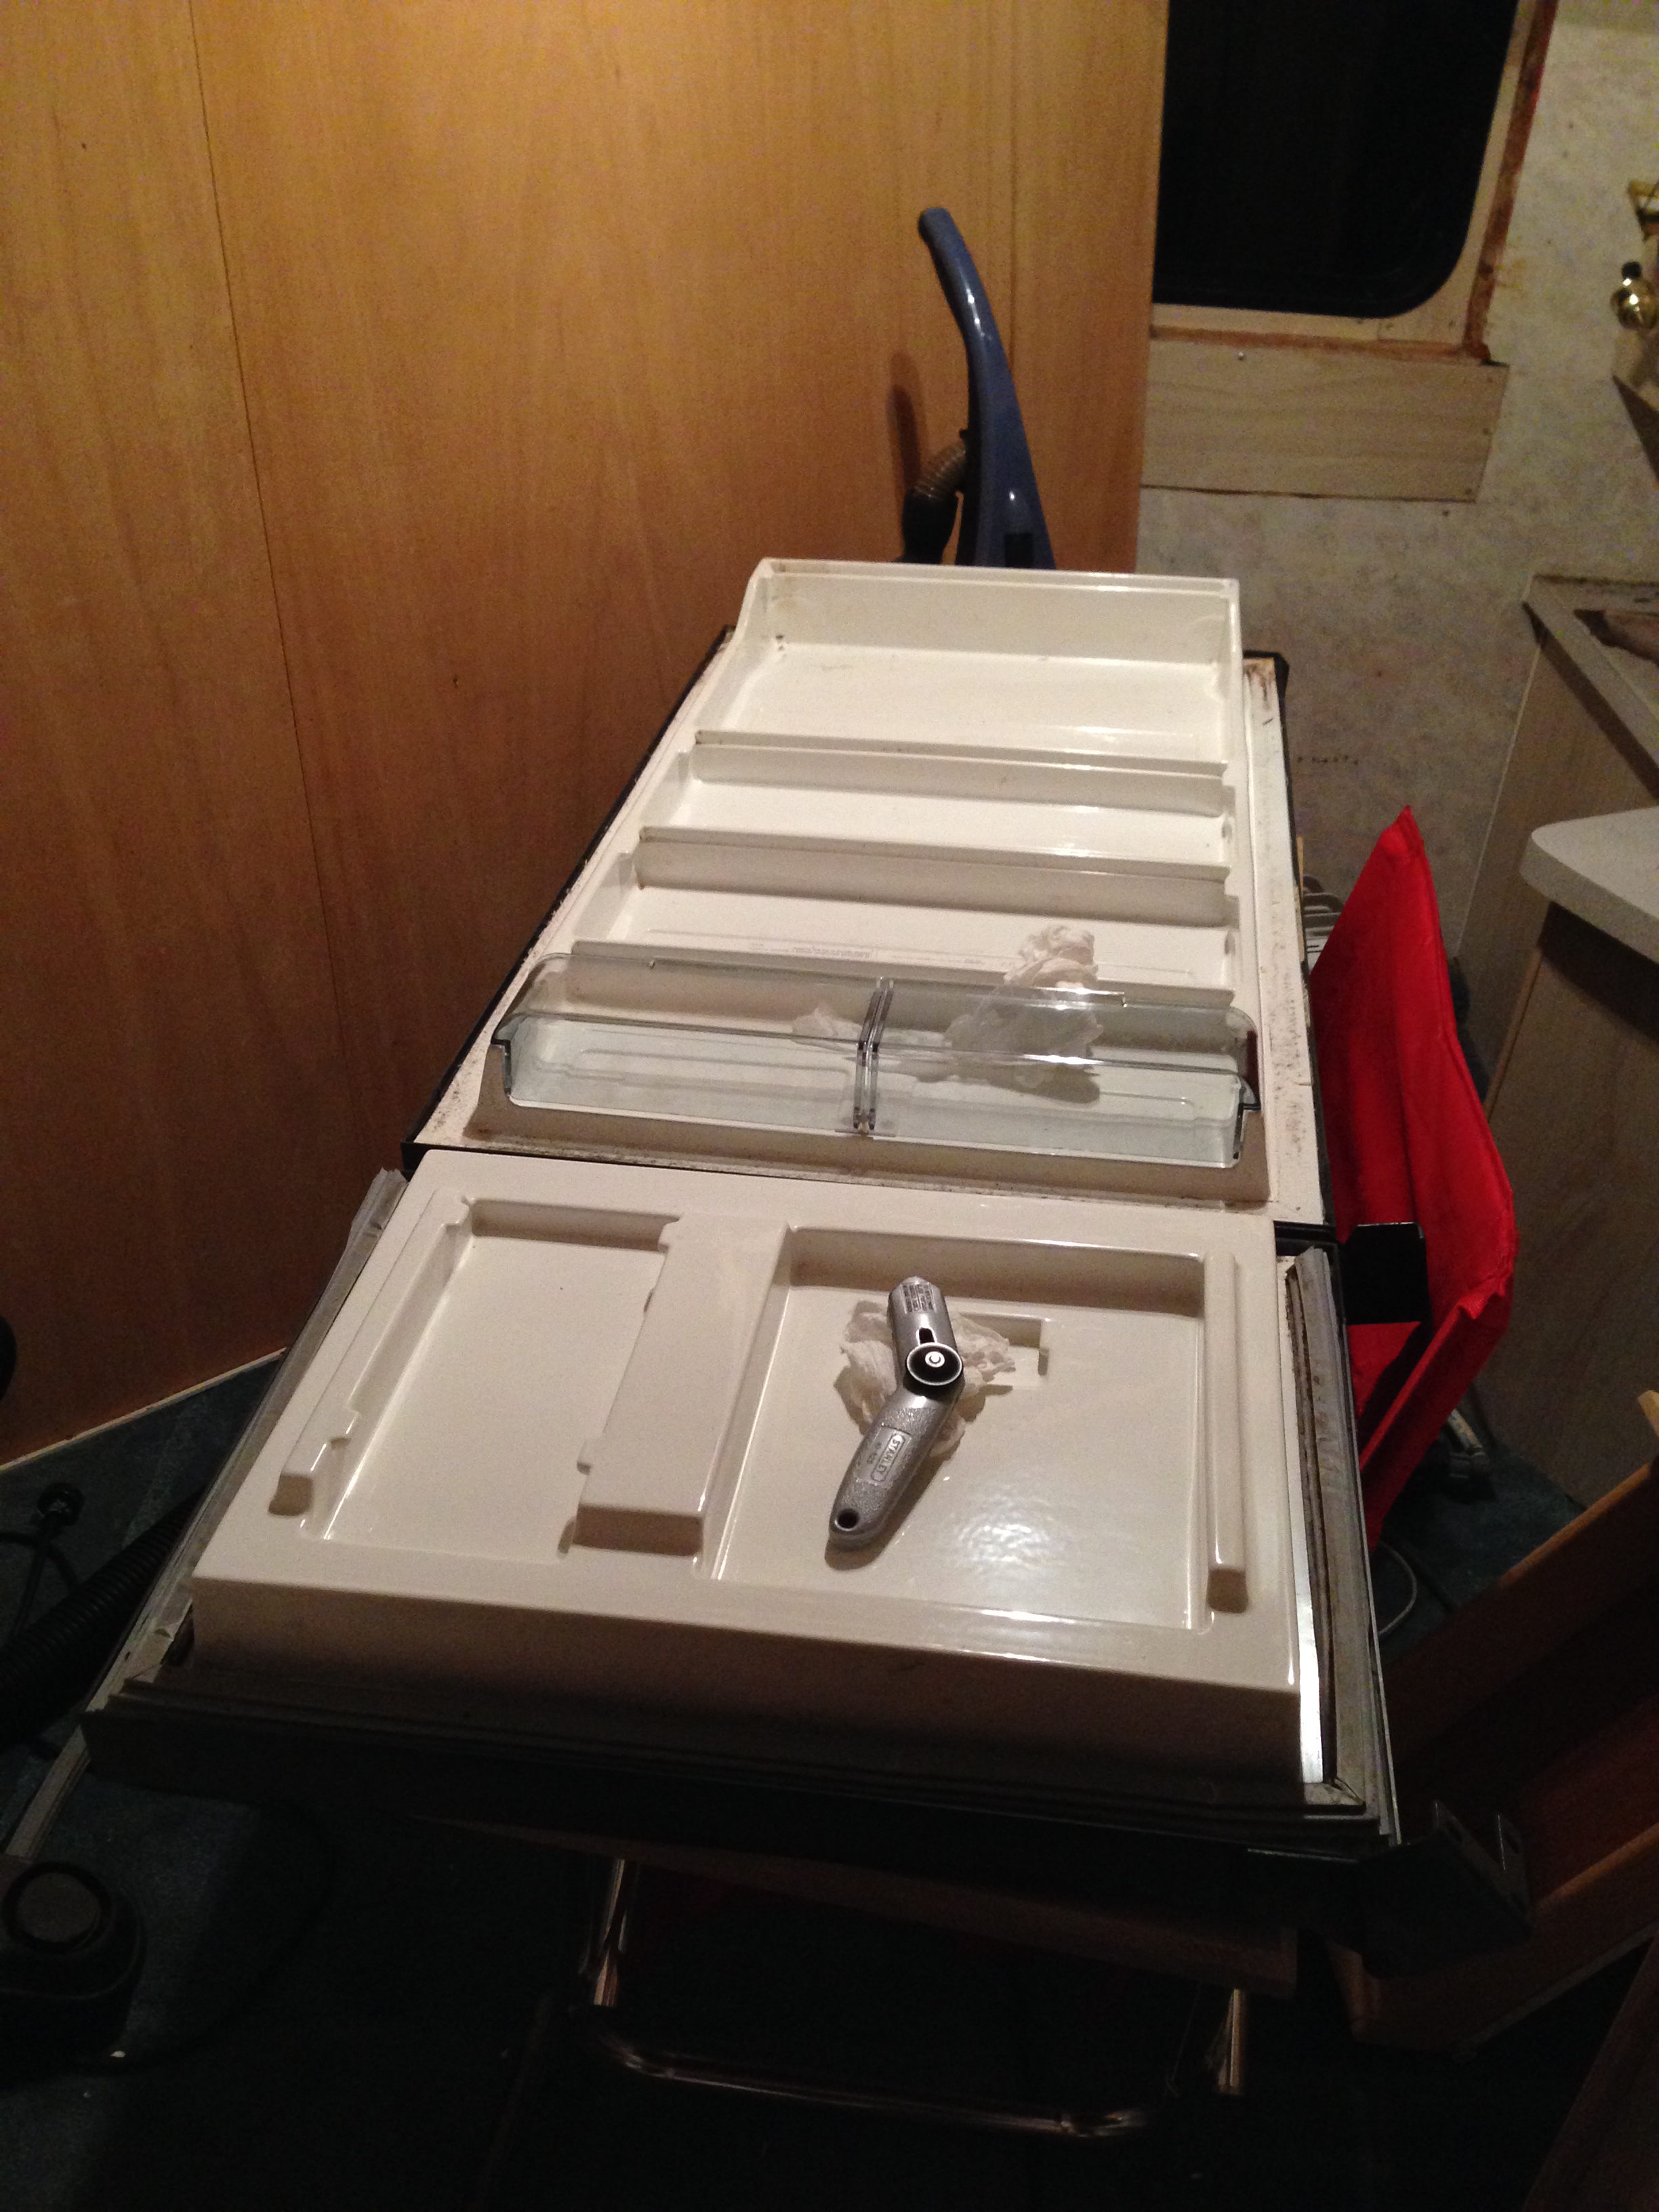
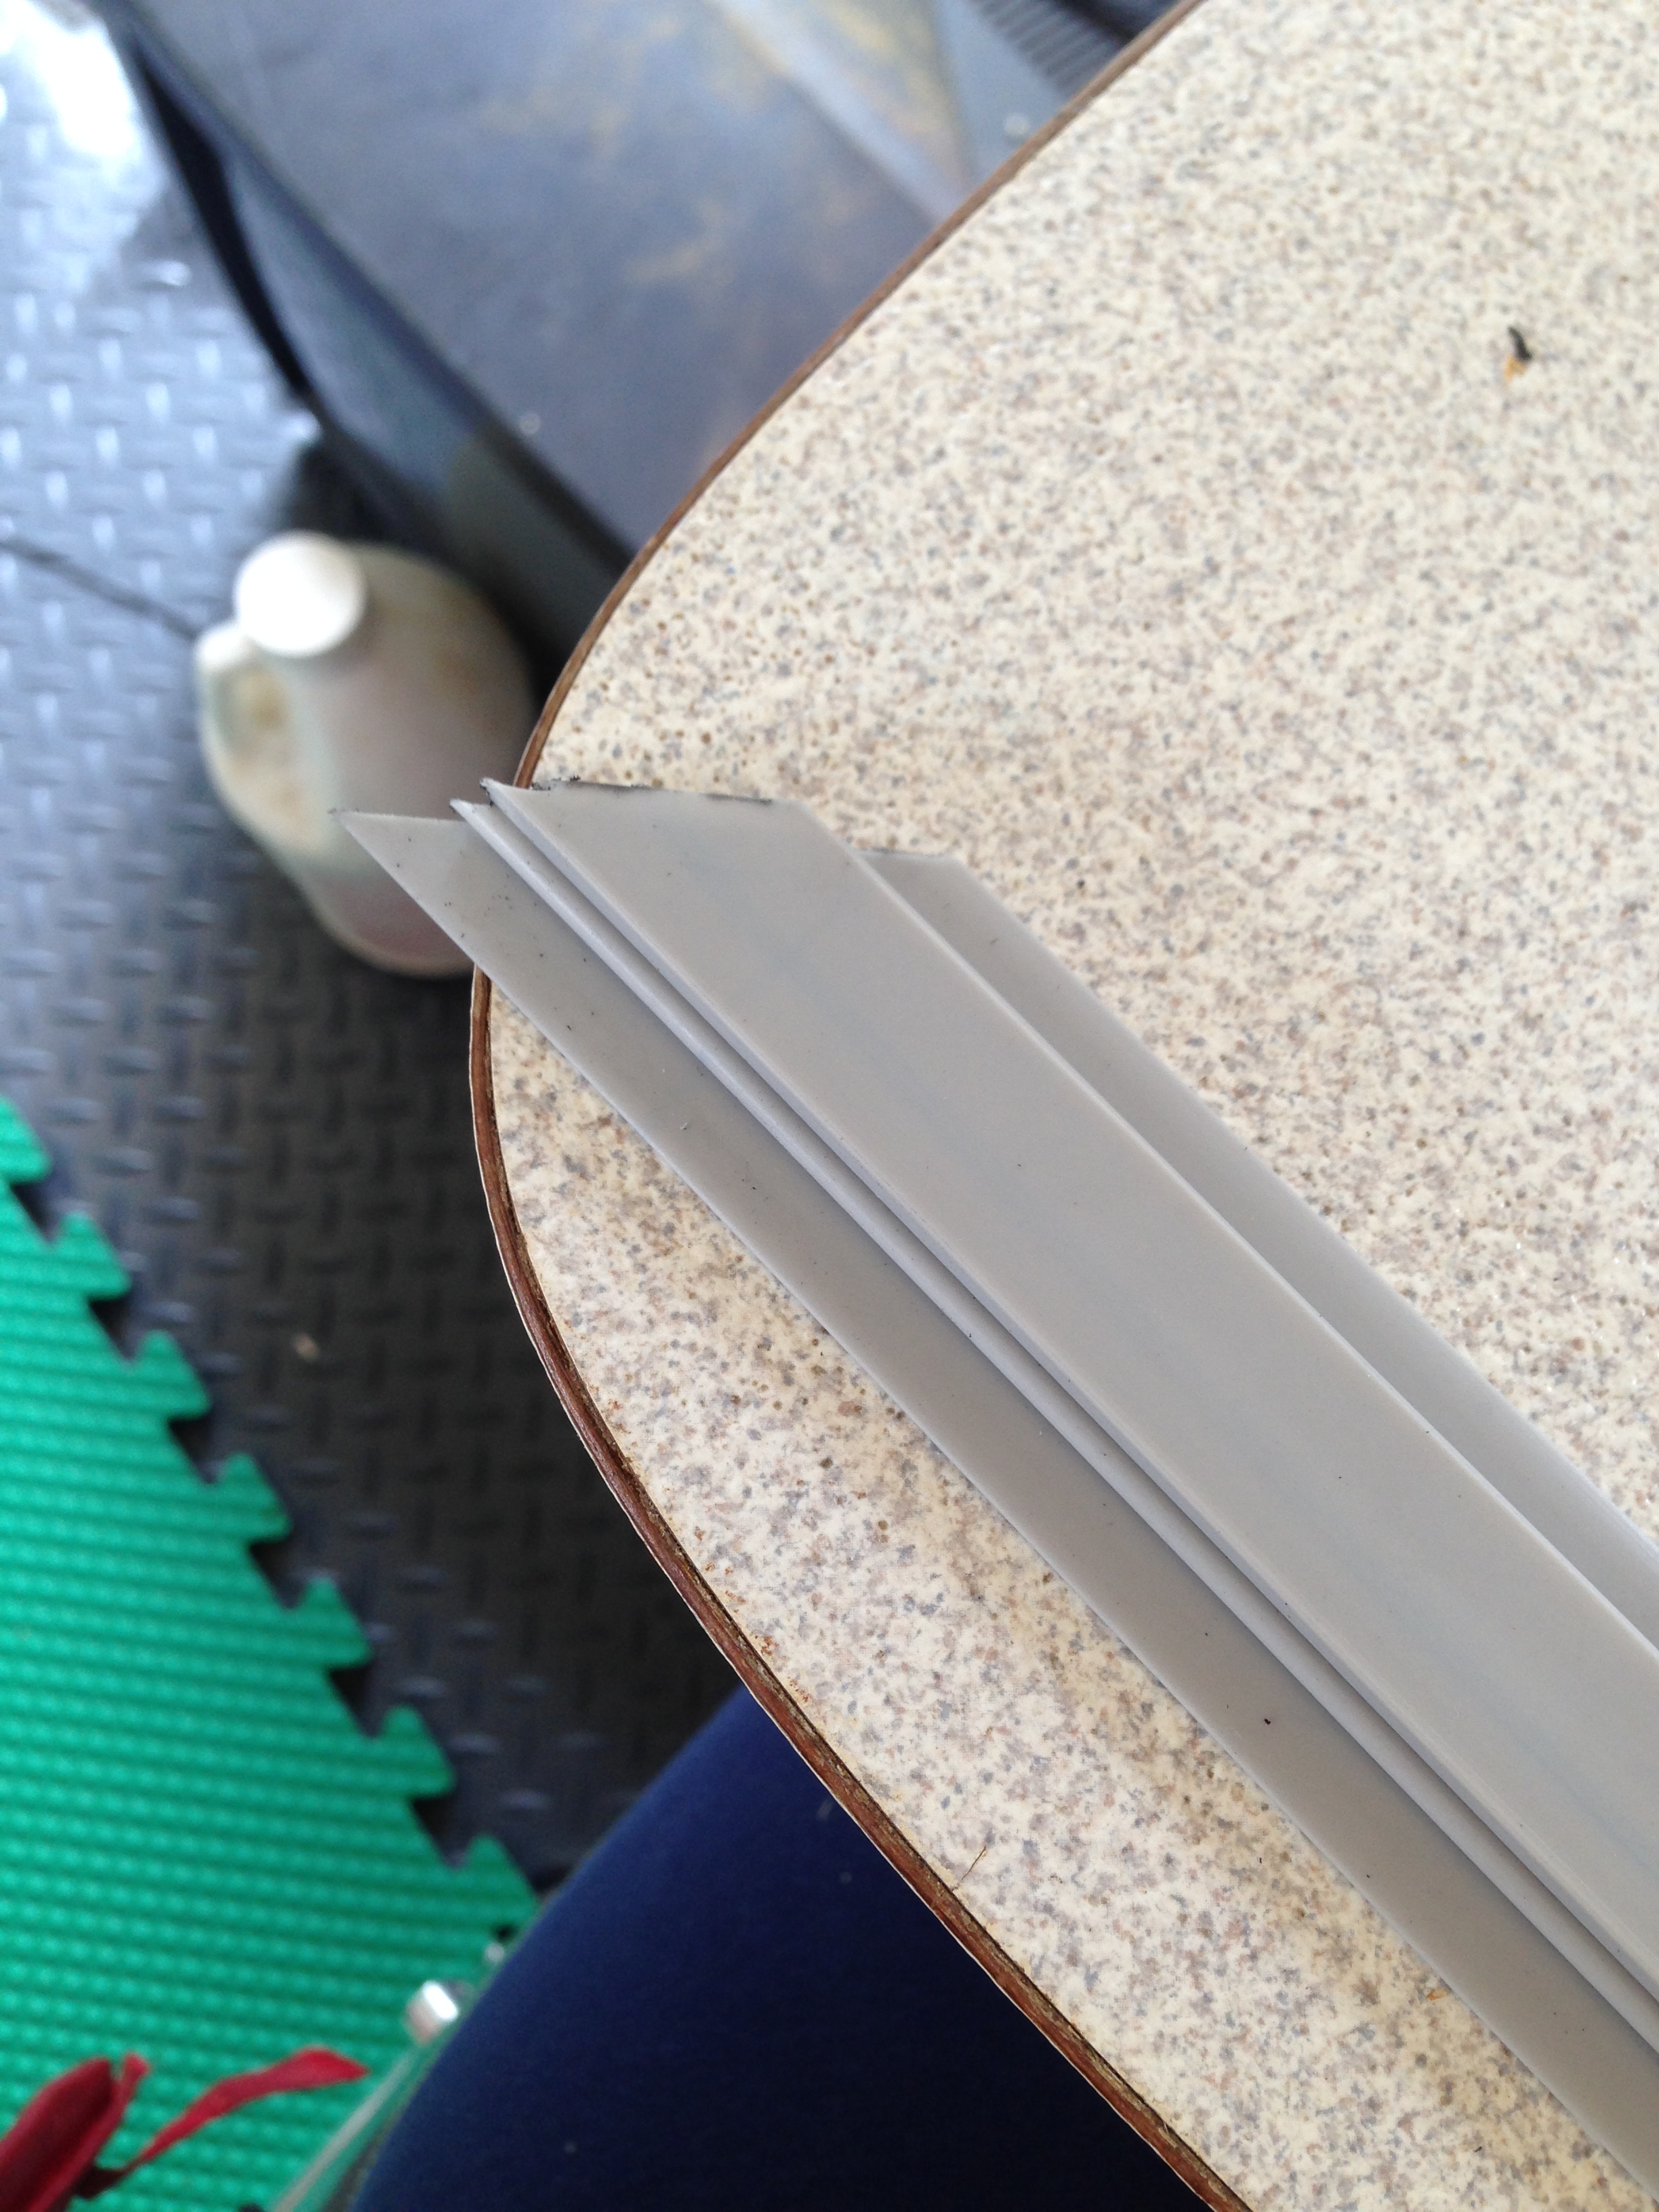
The gasket is magnetic and has two chambers. When I cut the gasket with a straight edge or with scissors (magnet removed) it didn’t cut the middle chamber straight across and instead there were big gaps where the gasket was crushed by the scissors or straight edge. So, I used a Dremel with a cutting disk (left magnet in) and that worked out great. I used Gorilla glue to connect the corners as well as glue it to the door. I had seen several posts about people who had used various double sided tape to secure it, but they always had to go back and secure it with adhesive.
Before securing the pieces together it required quite a bit of cleaning from the magnetic shards that were released when I used the Dremel. They, of course, stuck to the rest of the gasket. I also re-cleaned the fridge door and wiped everything down with alcohol to make sure there wasn’t any dust/grease before I secured the gasket.
After I cut the pieces and placed it on the door (on the floor) I let it sit overnight and into the morning heat. Then I secured them, let that sit for a day. Then I put the door back on the fridge and let it sit for a day closed (fridge not on) and then I turned on the fridge and let that sit for two days. I did this based on instructions I had seen on the web for replacing any fridge gasket.
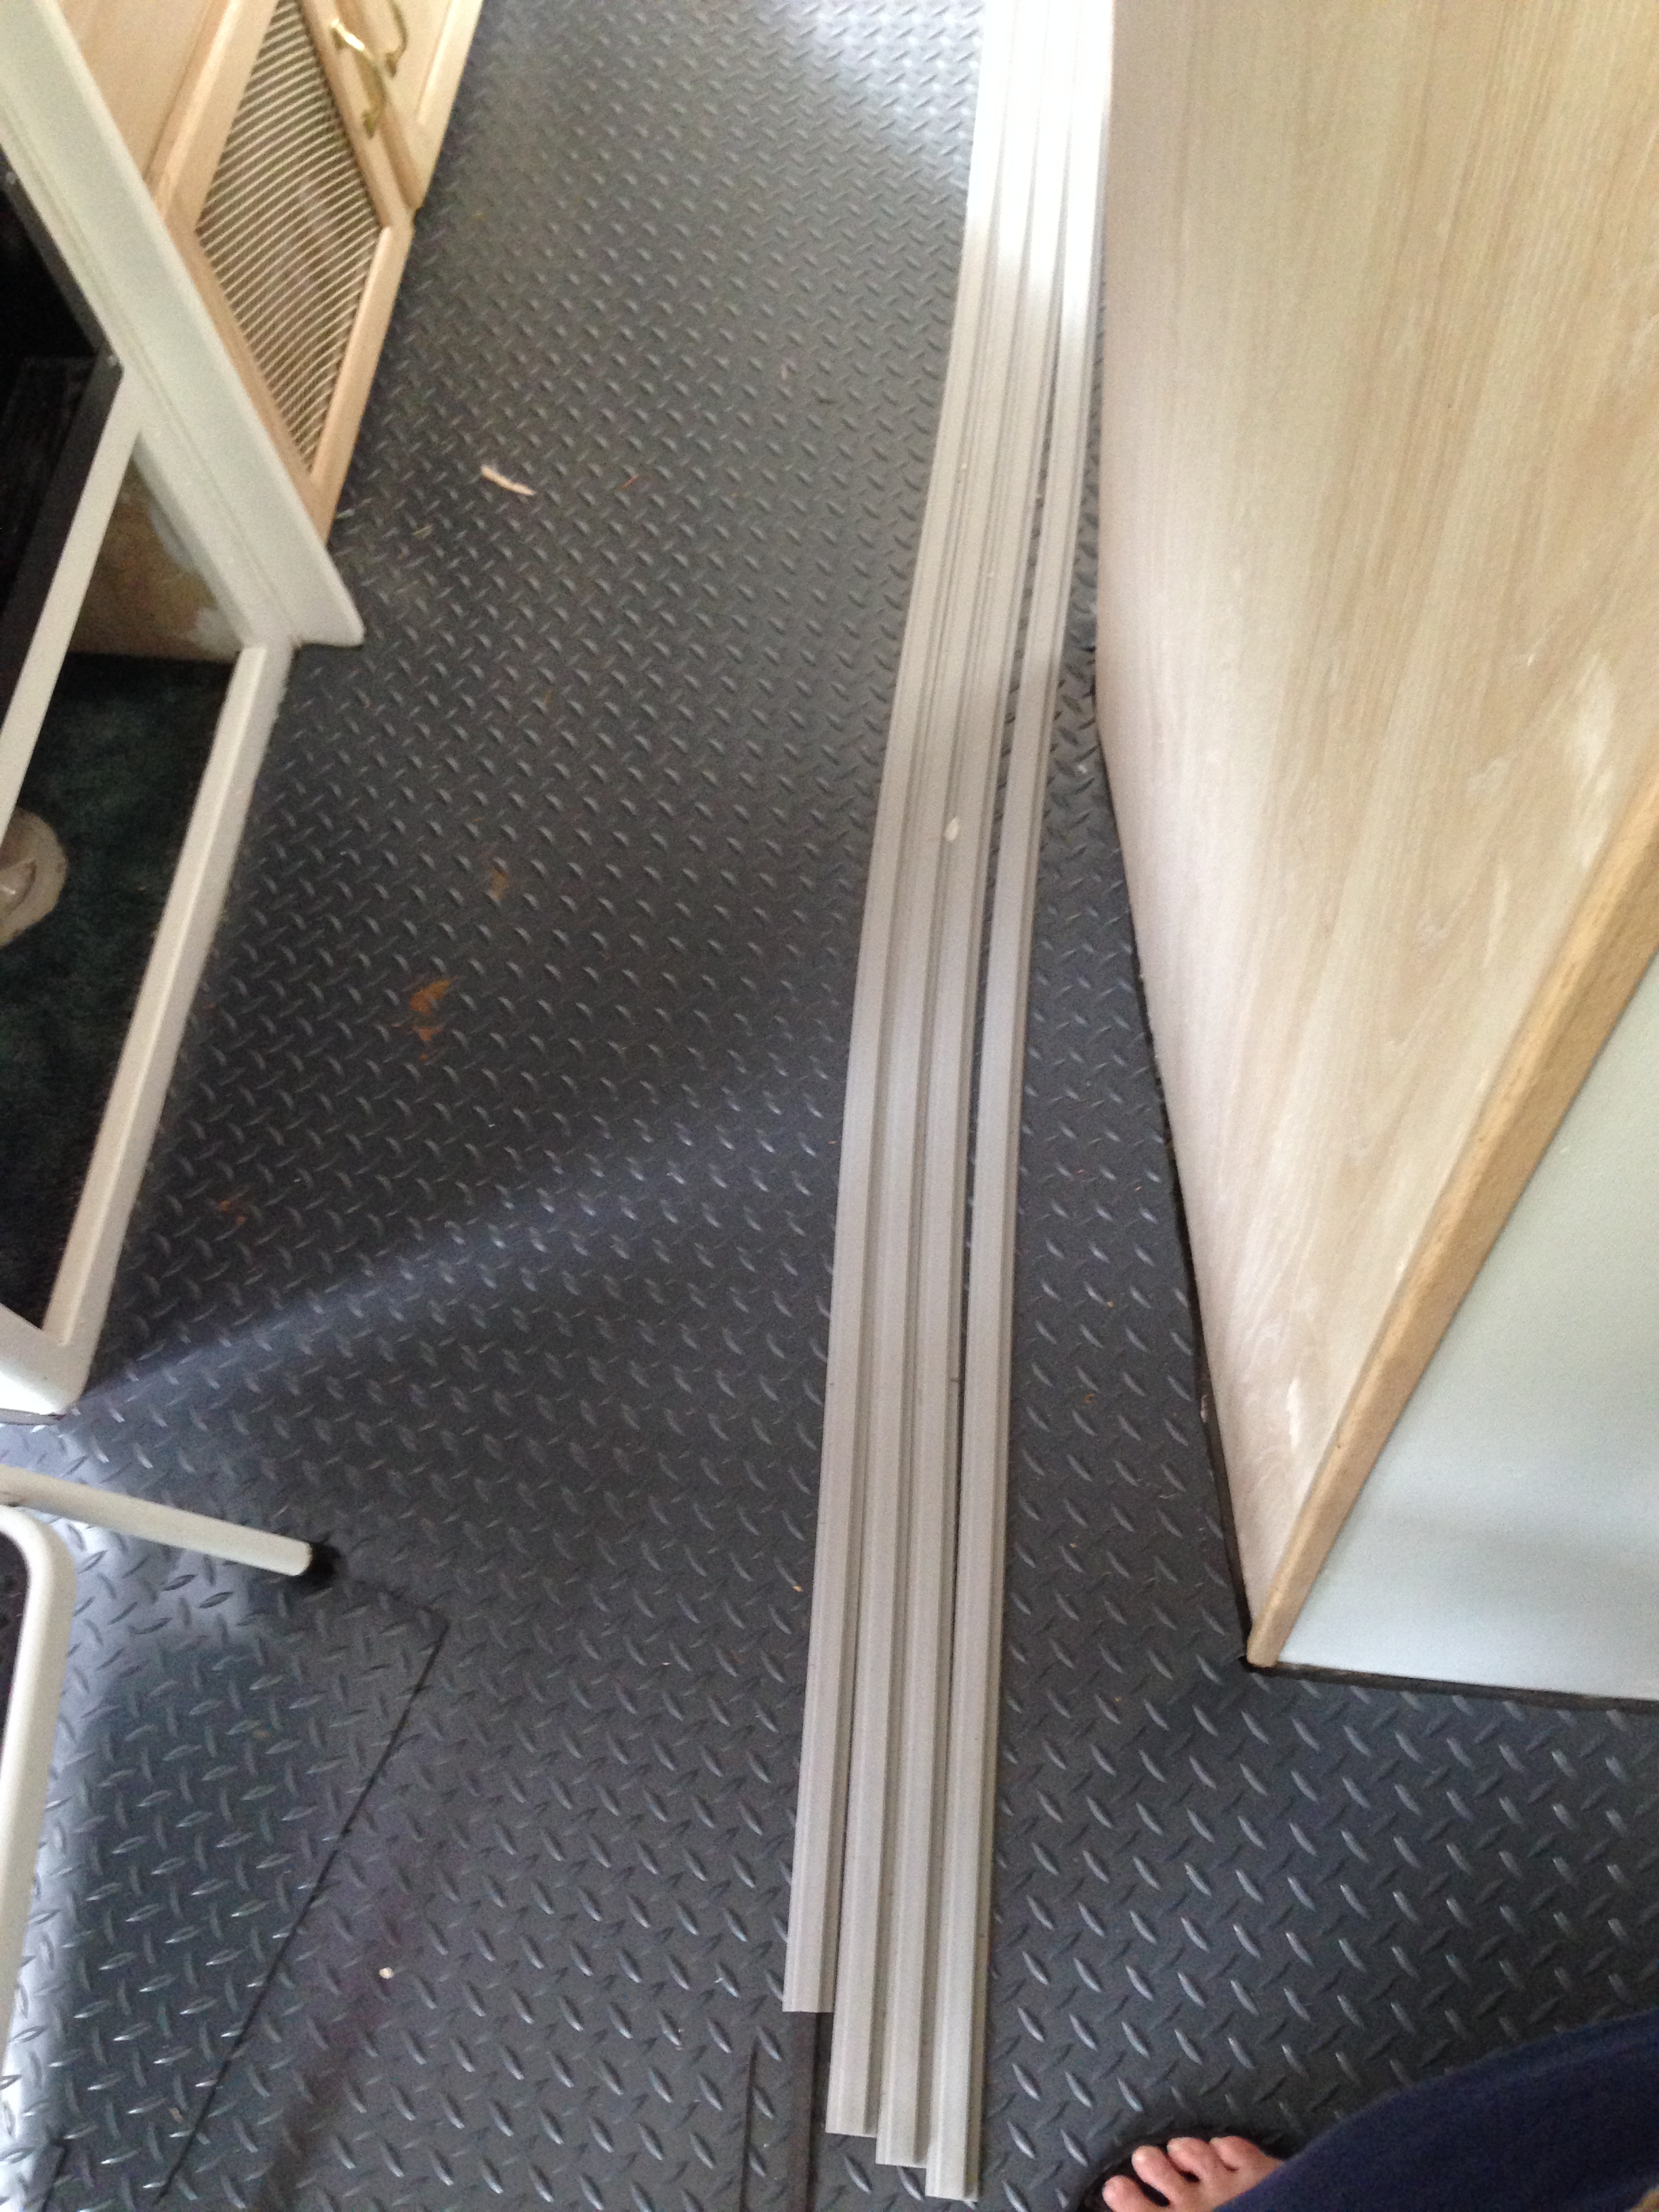
Gasket strips (4) at ~95″ – I had 1.25 left over when I was done.
AFTER:

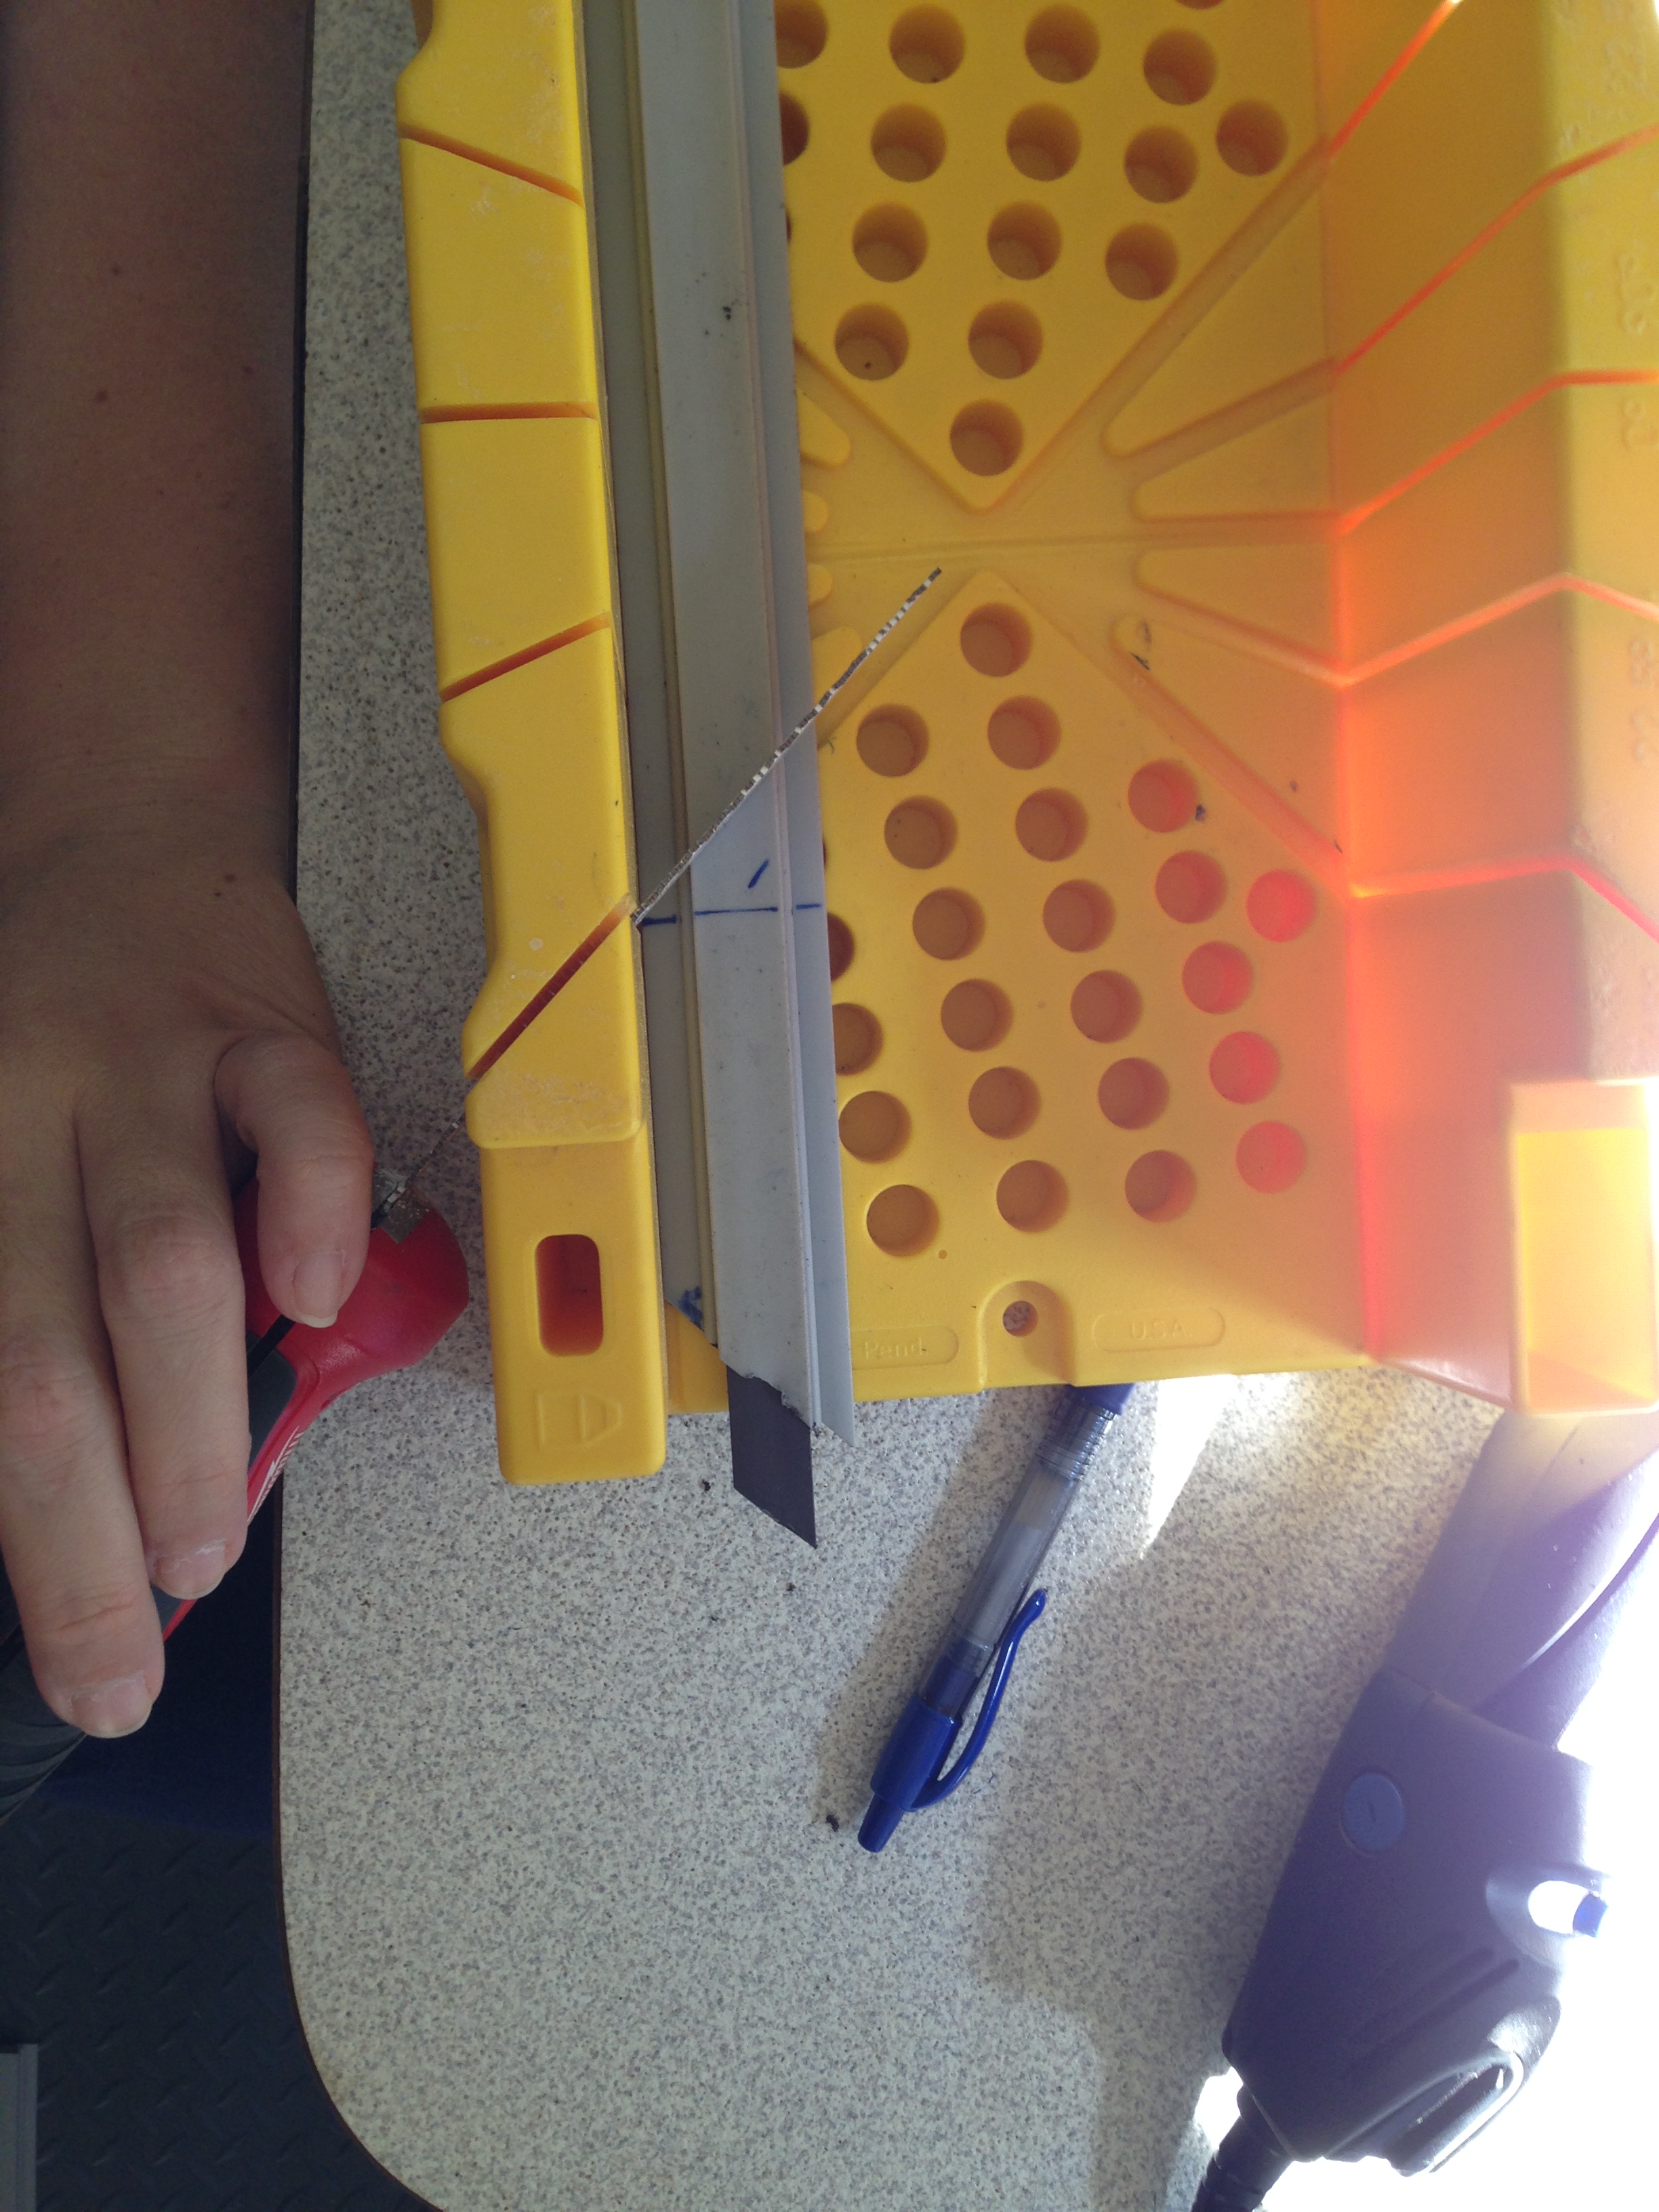

I used a 17″ 2×4 on the table as the base to cut the gasket.

I used a trash piece of the G-Floor under the gasket while I glued it so it wouldn’t stick to the fridge door – just yet.

I used 1.25 bottles of Gorilla glue for the corners and to secure it to the door.